One clear reference image
Start with one visible subject, readable edges, and a framing that makes the intended object unambiguous.
Free daily credits · Image to 3D AI Generator
Upload a product photo, sketch, or concept image to create a private 3D asset. Free accounts receive 20 daily credits. Inspect the result before export.
to submit this private task, track its progress, and reopen the result in Creations.
Start with one visible subject, readable edges, and a framing that makes the intended object unambiguous.
Free accounts receive 20 daily credits. The reference image uploads only after sign-in and task submission.
Open the completed model in the 3D viewer to inspect silhouette, orientation, and available next steps before export.
Move the result into the viewer or converter and choose an available action.
Original asset gallery
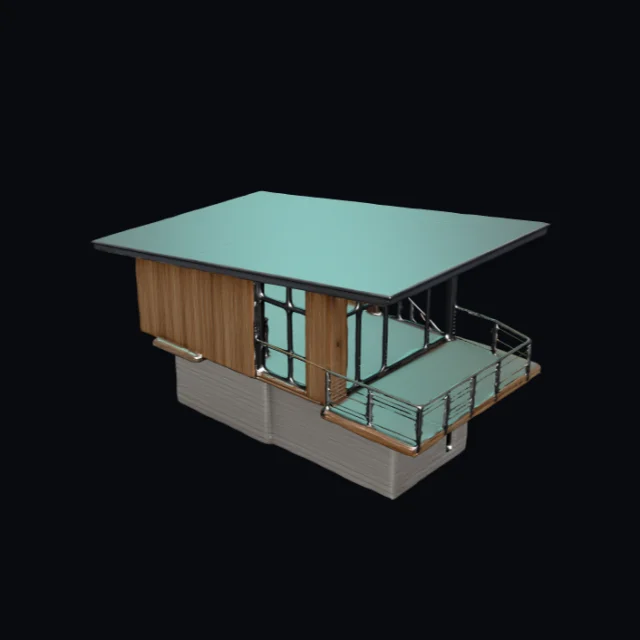 Cedar observatory cabin · V1 model · GLBCreate similar
 Cloud chaise lounge · V1 model · GLBCreate similar
 Bioluminescent seed pod · V1 model · GLBCreate similar
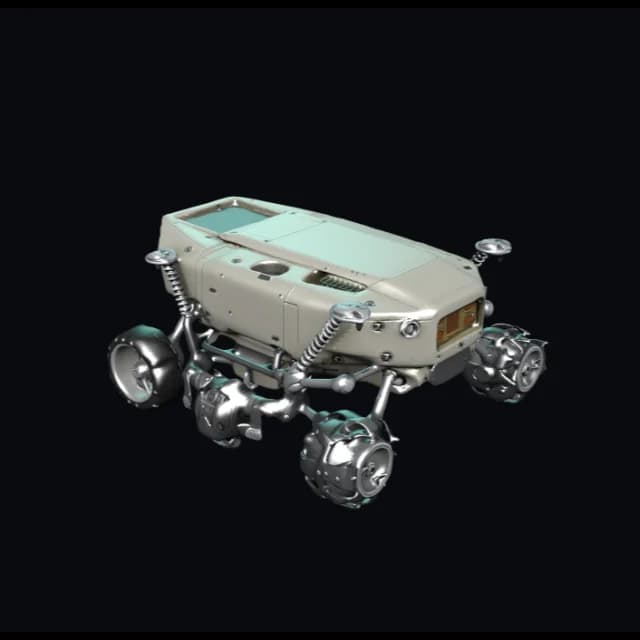 Lunar sampling rover · V3 model · FBXV3.0Create similar
 Modular desktop speaker · V3 model · FBXV3.0Create similar
 Moss stone guardian · V3 model · FBXV3.0Create similar
 Brass beetle scout · V4 model · GLBV4.0Create similar
 Unbranded trail runner · V4 model · GLBV4.0Create similar
How it works
Choose a clear reference, generate the asset, then inspect its geometry and materials before download or conversion.
Add one clear PNG, JPEG, or WebP reference with a visible subject, then select the model version that fits the level of detail you need.
Sign in to start the task. AI3DGenerator checks access, reserves credits, and sends the reference to the selected model.
Open the asset in the private viewer. Inspect it, then choose one of the available download or conversion actions.
Reference tips
The image-to-3D model can only infer what the reference shows. Center one subject, keep its edges visible, and use balanced lighting before spending credits on a task.
A straight-on or lightly angled view makes the main silhouette and proportion easier for the image-to-3D task to interpret.
Avoid extra objects, hands, labels, reflections, or busy scenery that can make the intended subject ambiguous.
A clean background and visible edge contrast help separate the subject from the scene before the task is submitted.
Balanced light preserves shape, edge, and material cues while reducing harsh shadows that can hide a surface or opening.
Use an unblurred image with enough resolution to show the edges, openings, and details that should influence the generated model.
Use PNG, JPEG, or WebP references. V1 accepts files up to 8 MB, while later model versions accept files up to 10 MB.
Use cases
Turn concept art into an early prop or character model for a silhouette, scale, and art-direction check ahead of the final asset pass.
Use a product photo to explore form, proportion, and material direction ahead of detailed CAD, surfacing, or visualization work.
Create an initial mesh for print planning, then inspect its orientation and choose a supported export before slicer or repair work.
Move an illustration, collectible, or character concept into an inspectable 3D model for the next creative tool.
Inspect and hand off
Check geometry, topology, materials, scale, and orientation in the browser viewer. Then prepare the asset for its next tool.
Format boundaries
The format panel separates browser exports, preview inputs, and private processing paths. Choose the route that matches your next tool.
GLB
Verified local export
glTF
Verified local export
OBJ
Verified local export
STL
Verified local export
PLY
Verified local export
USDZ
Verified local export
FBX
Input / preview
3MF
Viewer-local mesh export
FAQ
Answers about free credits, reference images, private uploads, failed generations, 3D model previews, and supported exports.
Free daily credits
Choose a supported image and model version. Then inspect the generated asset in your private viewer.